Navigating through a portal should be effortless and intuitive. That's where well-crafted navigation links come into play. In this guide, we'll walk you through the process of creating effective navigation links on your Pory portal, enhancing your site's usability and visitor experience.
Understanding Navigation Links
Navigation links are the signposts of your portal, guiding your visitors to various pages and sections. They're essential in providing a smooth, user-friendly experience. Typically, these links are placed in prominent areas like the header, footer, or sidebar, ensuring easy accessibility.
Creating Navigation Links
Before we dive in, make sure you're logged into your Pory workspace and have selected the portal you're working on. Also, prepare the list of pages or external URLs you want to link to.
-
In the editor, click on Add Header.

Add Header -
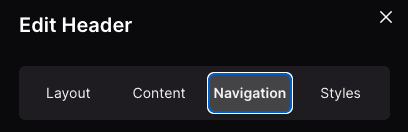
Select the Navigation tab. This is where you can input your link details.
Go to Navigation Settings -
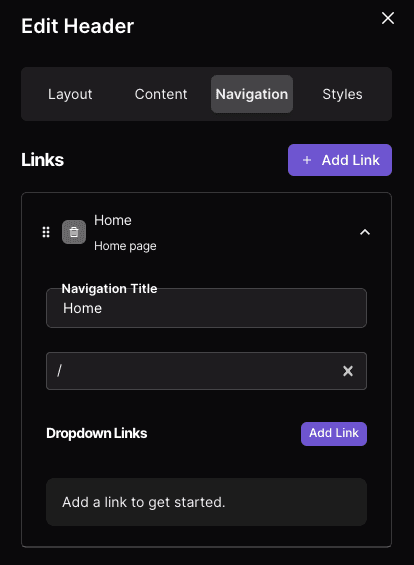
Create your Link: Type in the navigation title of the link as you want it to appear in your portal and select a page or enter a website URL.
Edit Link -
Repeat the process until you have all your links created.
-
Publish Changes and preview your portal to make sure everything is okay!
Creating a Dropdown Menu
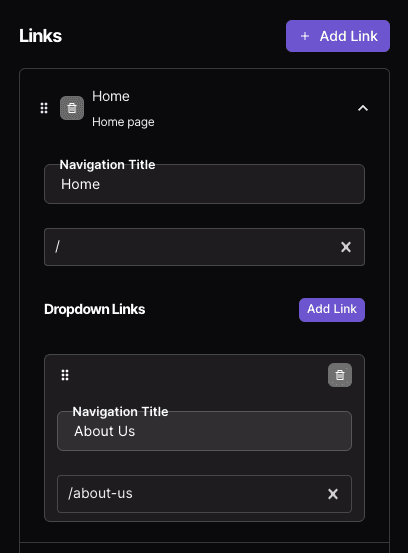
Dropdown menus are triggered when a user interacts with a menu item (usually by clicking or hovering over it). This action reveals additional options or sub-menu items that were not previously visible.
- Click on Add Link in the dropdown links section
Edit Link
Navigation Layouts
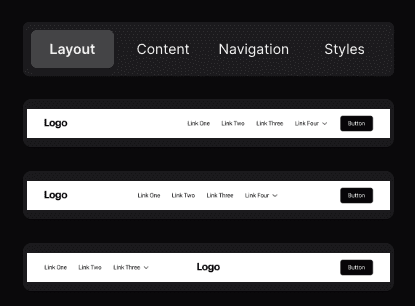
You can change the way your navigation links are displayed by:
- Select the Layout tab.
- Select a new layout
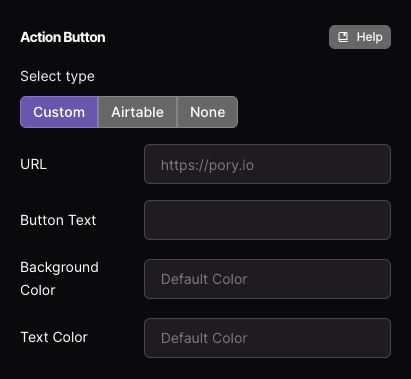
Creating an Action Button
An action button is a prominent button that prompts users to take a specific, primary action. This action is usually central to the goals of the portal, such as making a purchase, signing up for a service, downloading an app, or getting in touch with the business. Action buttons are designed to stand out and attract user attention, encouraging them to complete a desired task.
To create one:
- Select the Content tab
- Select a type i.e. custom
- Fill out the details for the button
Navigation Layout
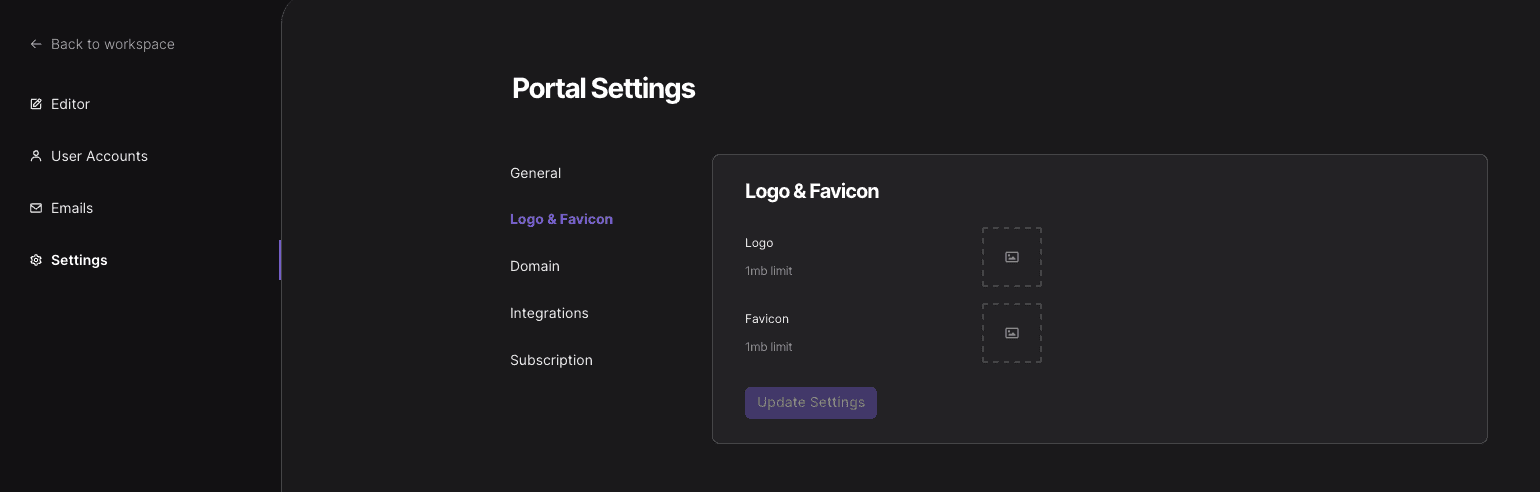
Adding a Logo
Uploading a logo and favicon for your portal can be found in settings.
- Navigate to Settings from the left sidebar
- Select the Logo & Favicon tab
- Upload a logo and favicon
Updating Styles
Update the layout, logo, background, links and dropdown styles by:
- Select the Styles tab
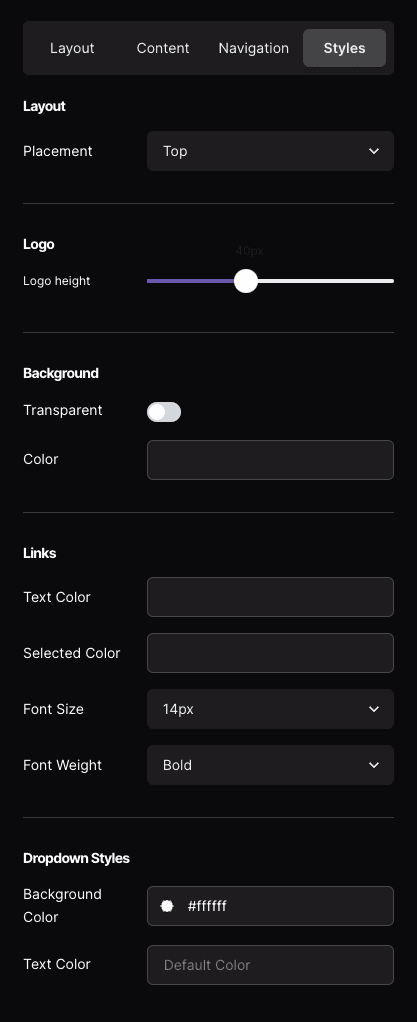
Navigation Styles