Pory, known for its integration with Airtable, allows users to easily create and manage these listings using data from their Airtable bases. In this guide, we will learn how to create a listing using data from Airtable.
Step 01: Create a Listing
First, go to the editor of your portal
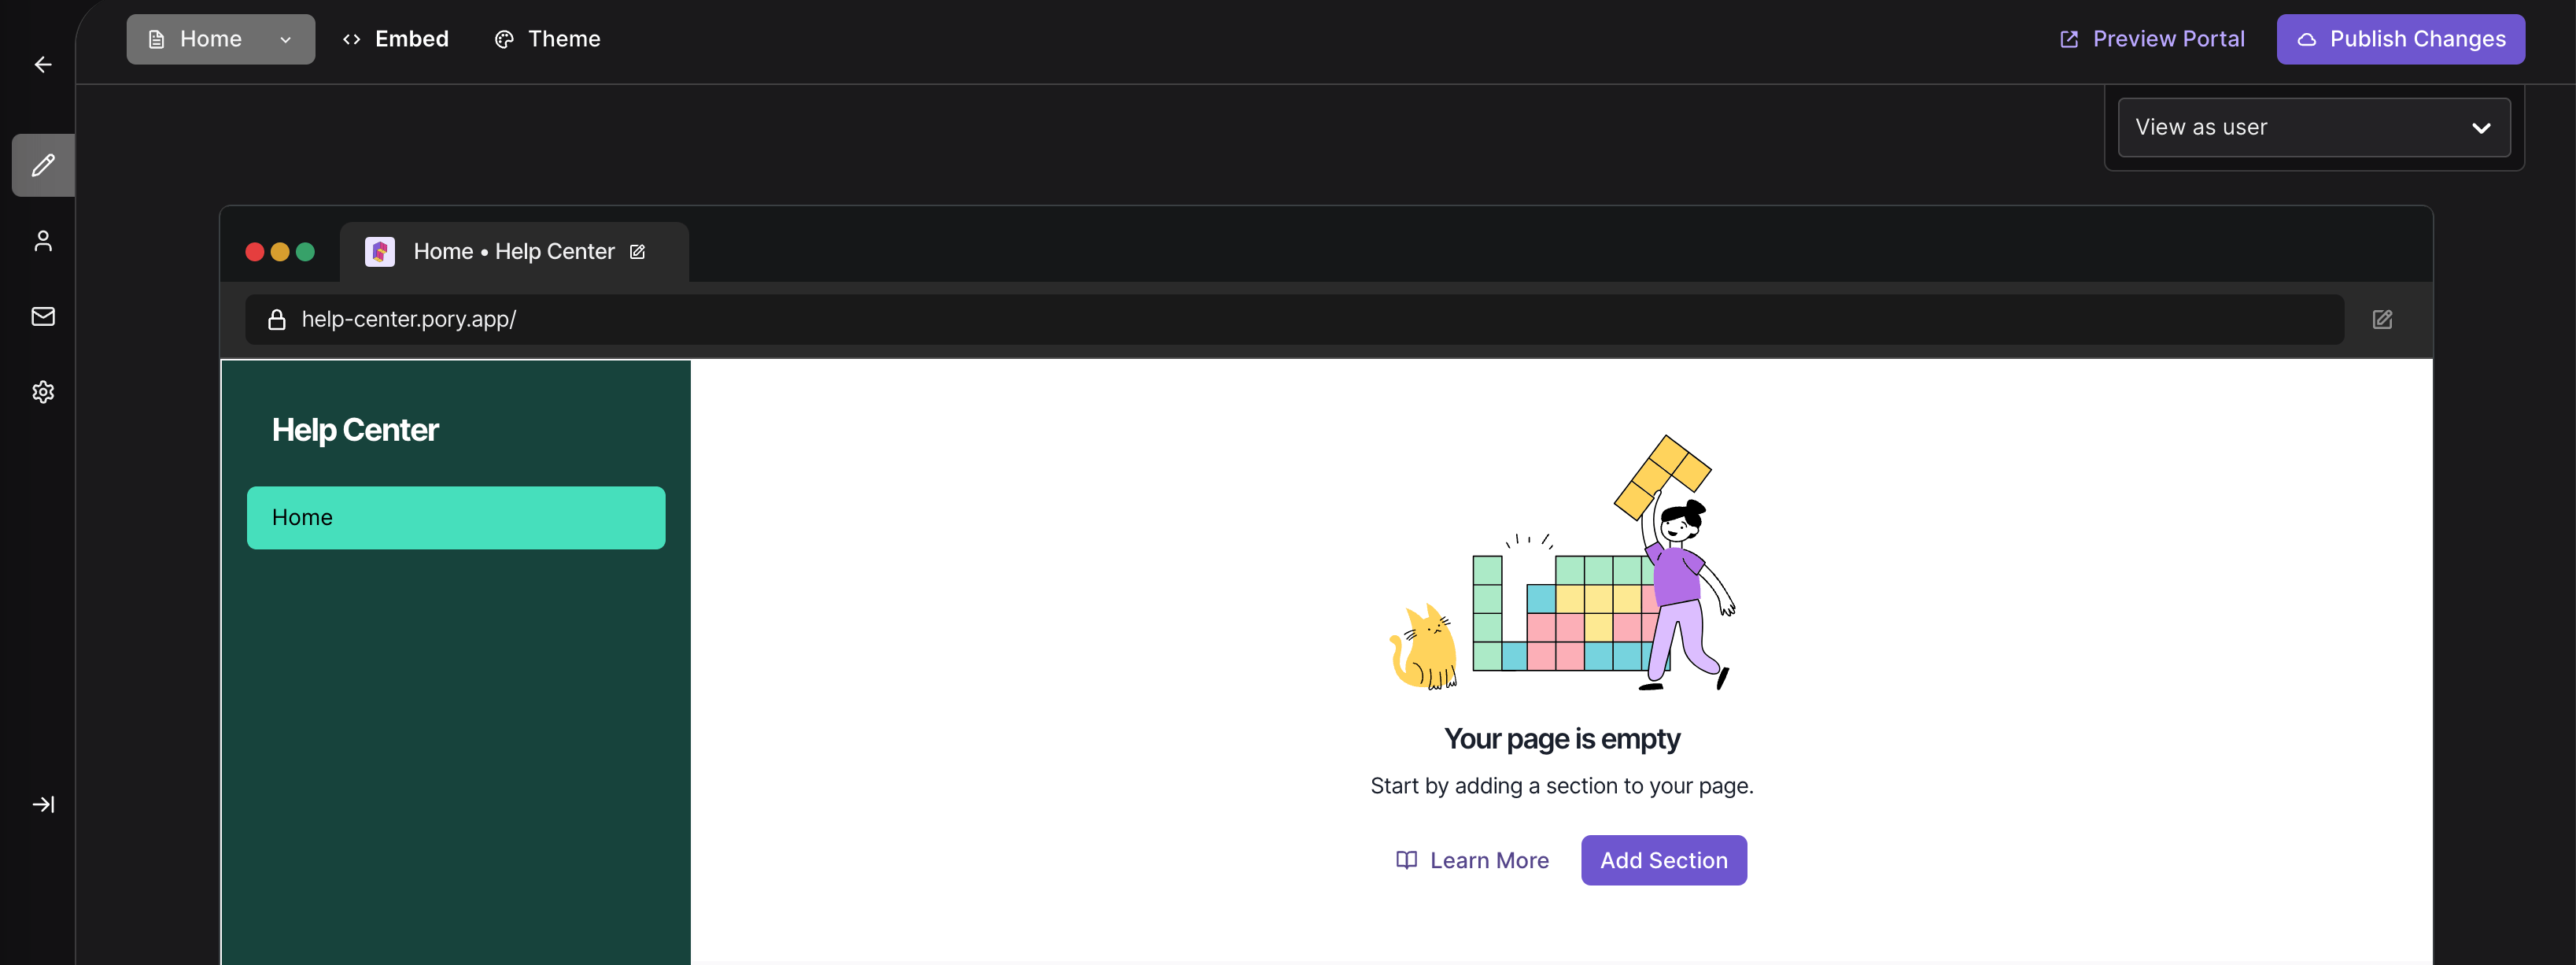
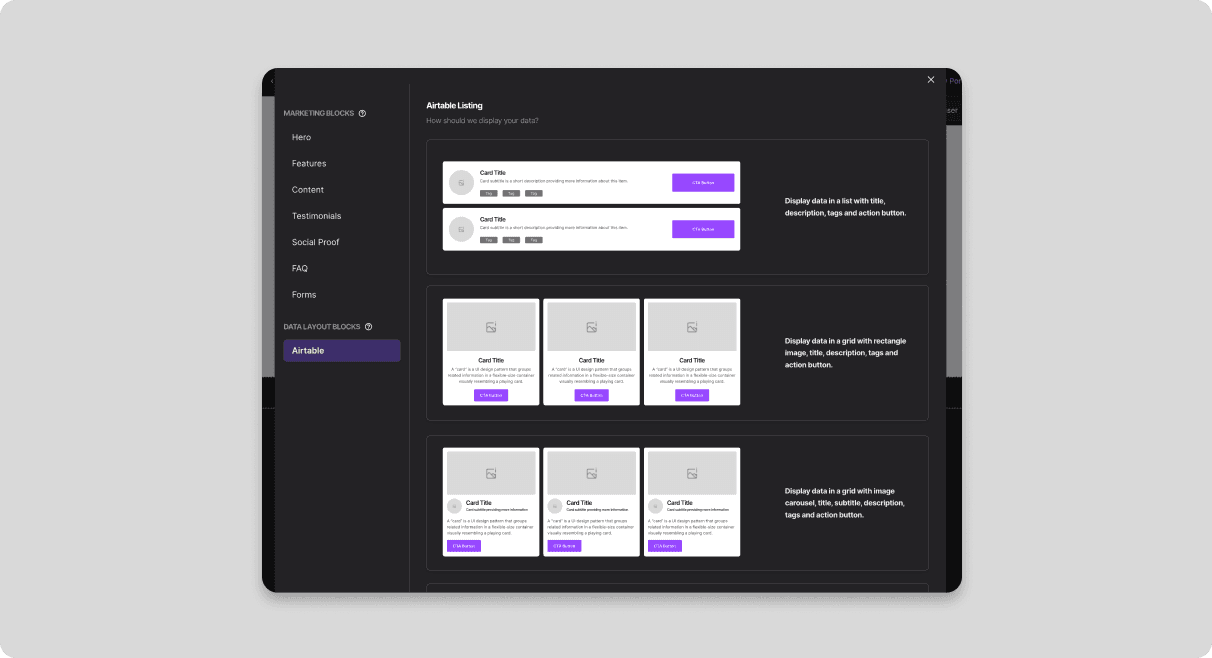
- Click Add Section
- Select a layout for the listing
Step 02: Connect Airtable data
- Hover over and click on Edit Listing

- Select the type of listing you're creating and which Airtable base to use
- User Listing: No (Selecting yes displays records from other tables that are linked to a user)
- Airtable Base
- Table
- Airtable View: None (This is optional for displaying records from a view).

Step 03: Edit Listing
Fields
- Select the Fields tab (default)
- Select which fields from the table to display in the Listing of the selected layout.

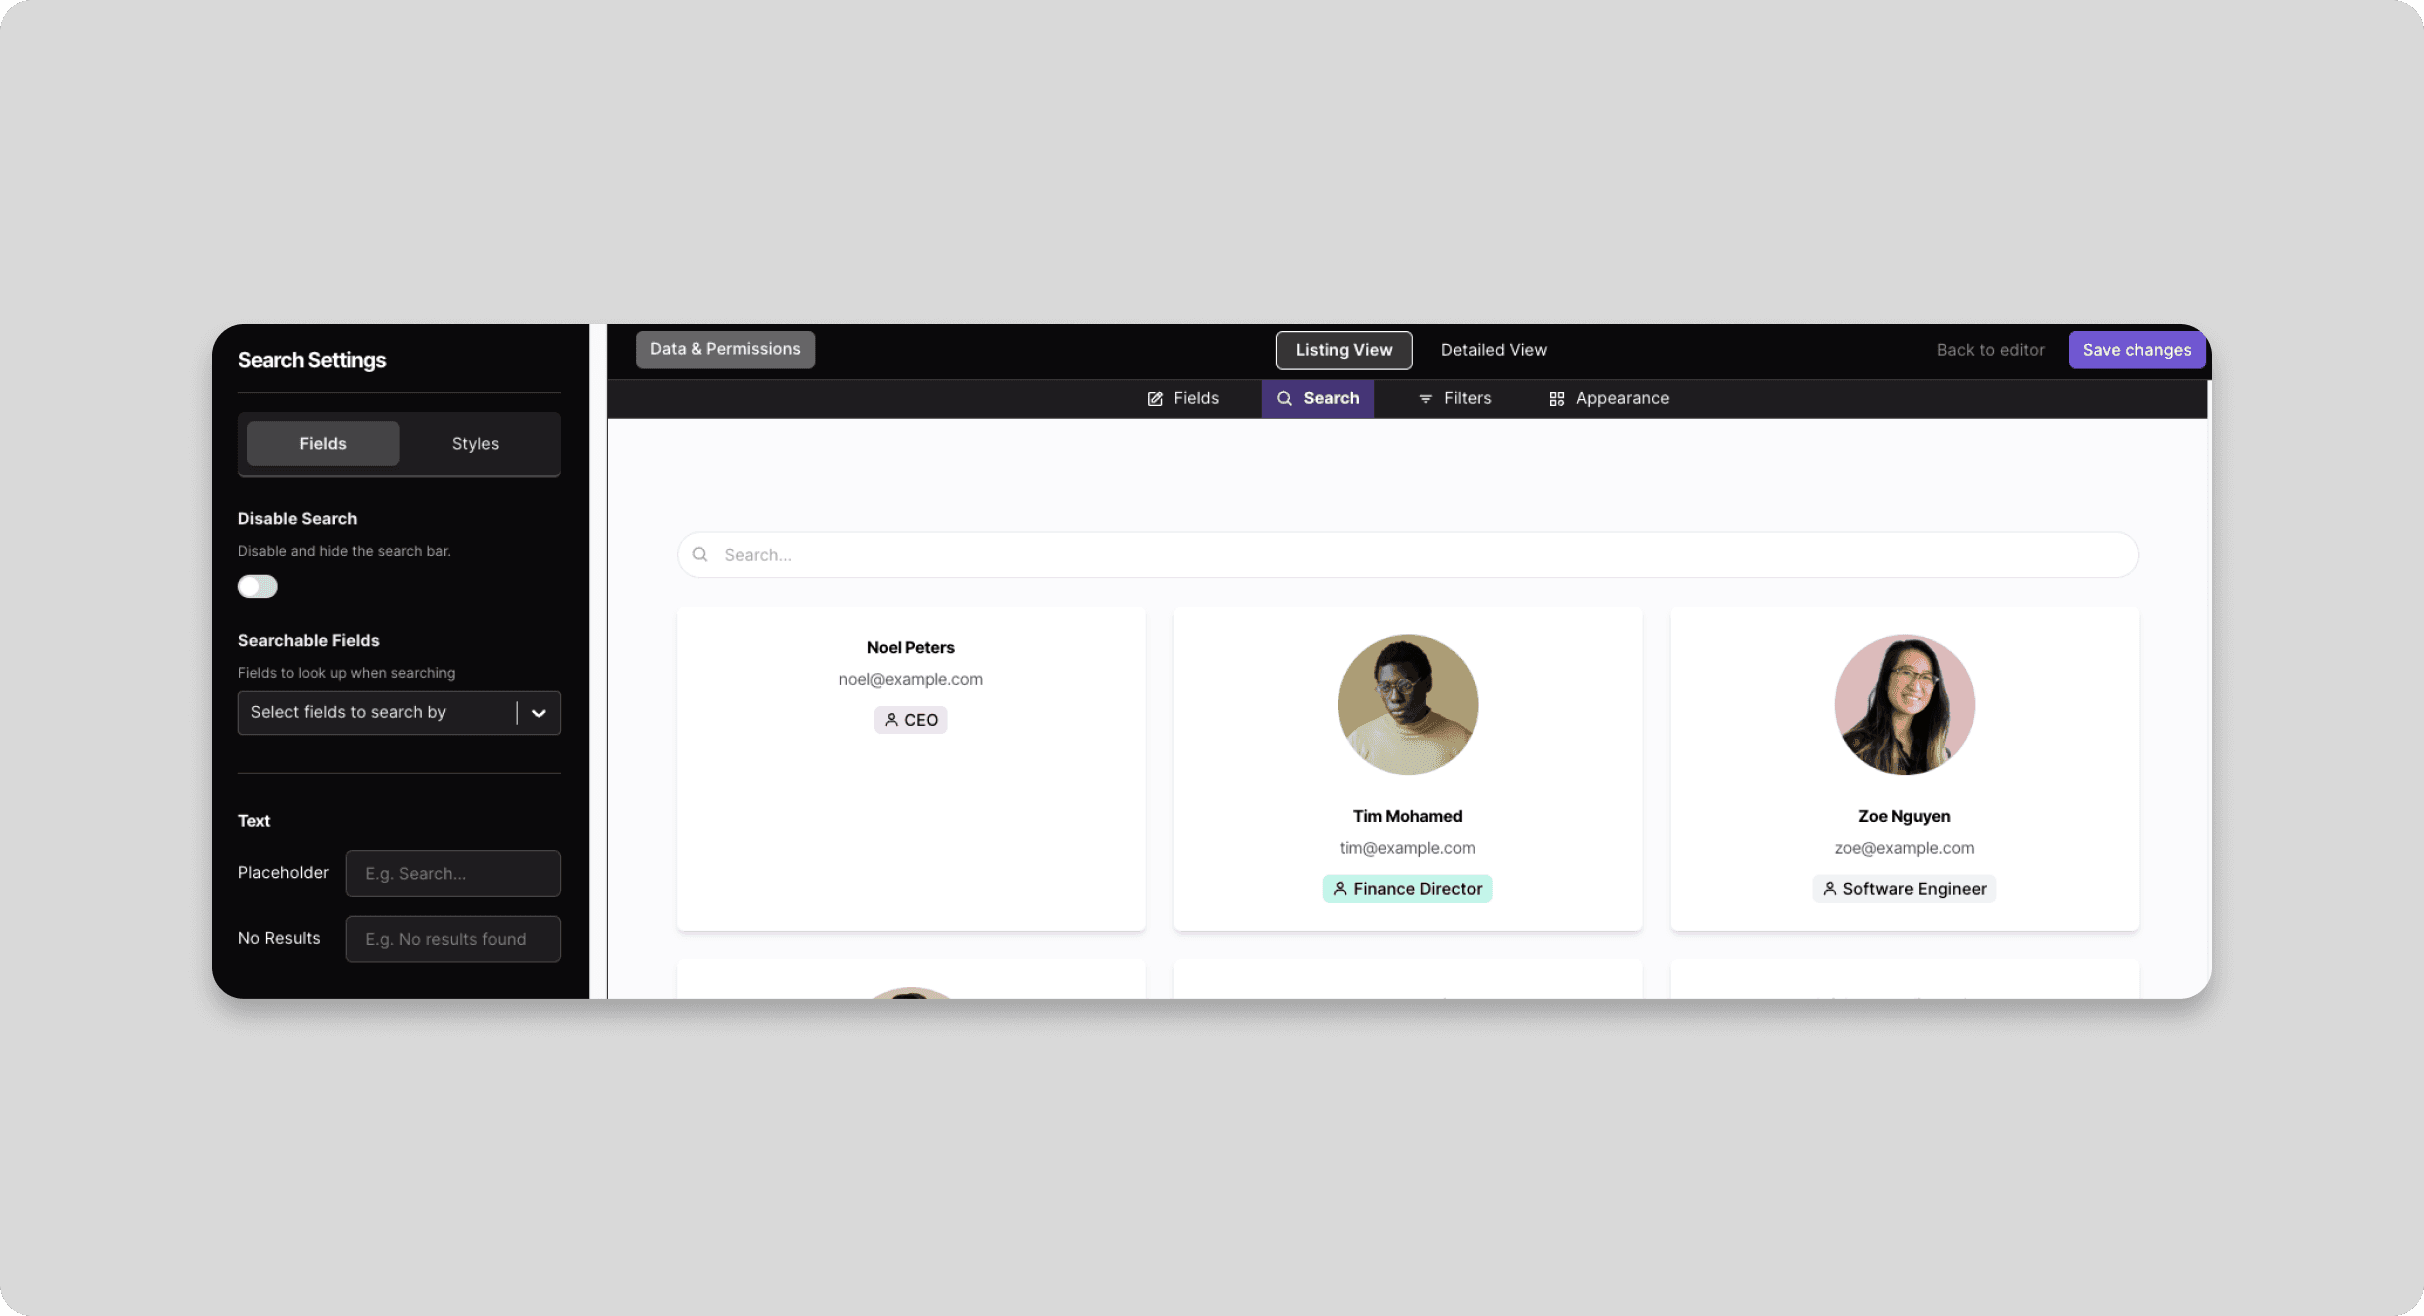
Search
- Select the Search tab
- Select which fields are searchable in the listing.
Filters
- Select the Filters tab
- Select a Filter Method. You can generate options using a single or multiple select field or using the table method if you want to use a mix of different field types and control what values to display.
- Select the fields options to use for your filter. For example, the company position field may include Software Engineer, Accountant.

Step 04: Edit the Detailed view
- Switch to the Detailed View when ready.
- Build out the view with drag and drop blocks
- Click on Save Changes once you're happy

Step 05: Edit Permissions
Set permission for each user group to control who can view, edit, create or remove records from the listing.
- Select Permissions
- Select options (view only, edit, create or remove) each group
- Click Save Changes

Step 06: Creating Forms
Your listing may support creating and editing records. To design your forms to support this permission:
- Select Forms to change to the form builder mode
- Select the fields to add to the form using drag and drop fields
- Click Save Changes
